More Videos You May Like

How To: Crochet Arcade Stitch
-
17:44
Learn how to master Arcade Stitch in this tutorial. This stitch creates a...
Learn how to master Arcade Stitch in this tutorial. This stitch creates a...

How to: Knit Slip One Knitwise
-
1:37
We're all about quick, easy solutions to help you knit. Learn how to slip...
We're all about quick, easy solutions to help you knit. Learn how to slip...

How to: Knit Picking up Stitches
-
5:28
In this video, you'll learn how to master picking up stitches. This...
In this video, you'll learn how to master picking up stitches. This...

How to: Knit Stocking Stitch
-
3:10
Learn how to make the most iconic stitch and you'll be ready for any...
Learn how to make the most iconic stitch and you'll be ready for any...

How to: Cast on with the long-tail cast on technique
-
3:12
Learn how to cast on with our long-tail tutorial. This classic cast on...
Learn how to cast on with our long-tail tutorial. This classic cast on...

How To: Knit 1x1 Rib
-
3:13
Learn how to do a 1x1 rib stitch by following our step-by-step video...
Learn how to do a 1x1 rib stitch by following our step-by-step video...

How to: Knit flat with circular needles
-
3:08
Does your project call for circular needles, or are you just partial to...
Does your project call for circular needles, or are you just partial to...

How to: Knit Horizontal Invisible Seam In Rib Stitch
-
2:42
Learn how to create invisble joins when seaming rib stitch together. This...
Learn how to create invisble joins when seaming rib stitch together. This...

How to: Knit Horizontal Invisible Seam
-
7:23
Ready to sew your finished pieces together? Learn how to use the horizontal...
Ready to sew your finished pieces together? Learn how to use the horizontal...
How to: Visibly-mend swiss darning or duplicate stitch
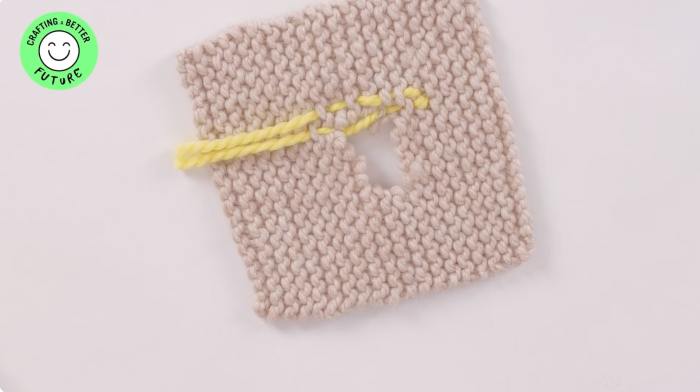
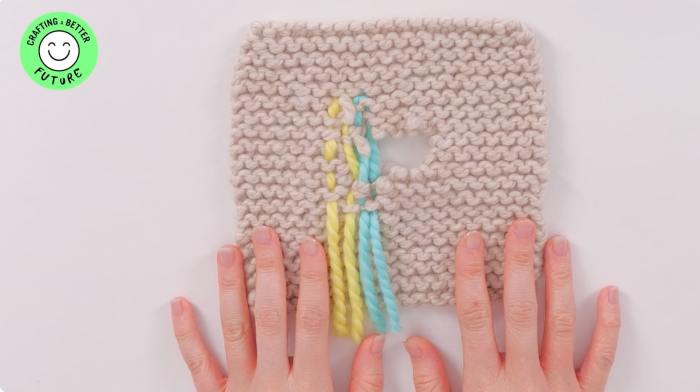
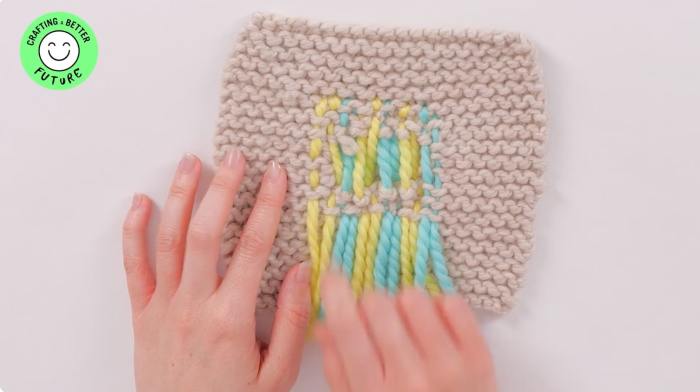
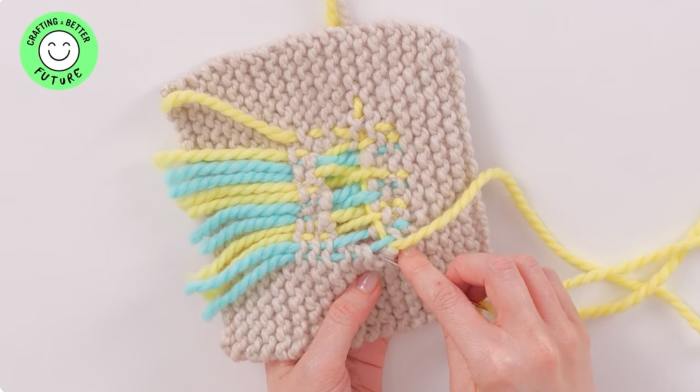
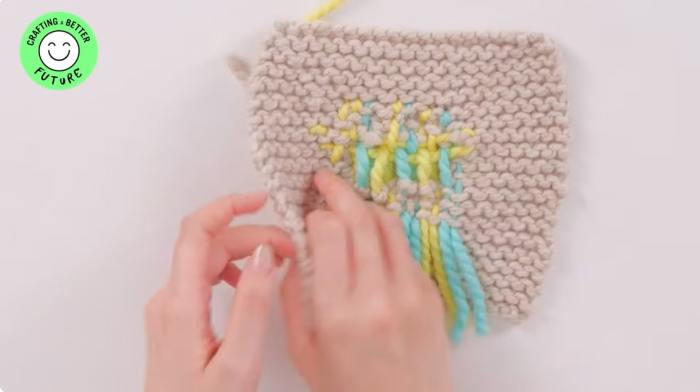
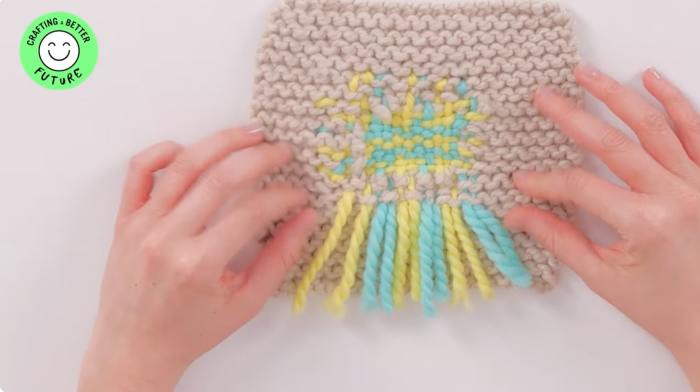
Fix up those holes and tears in your knitwear without sacrificing its character, with our guide to visibly mending Swiss darning or duplicate stitch.
Fix up those holes and tears in your knitwear without sacrificing its character, with our guide to visibly mending Swiss darning or duplicate stitch.
Read lessFix up those holes and tears in your knitwear without sacrificing its character, with our guide to visibly mending Swiss darning or duplicate stitch.
See the step by step guide here
Type:
Technique
Craft:
Visible Mending


